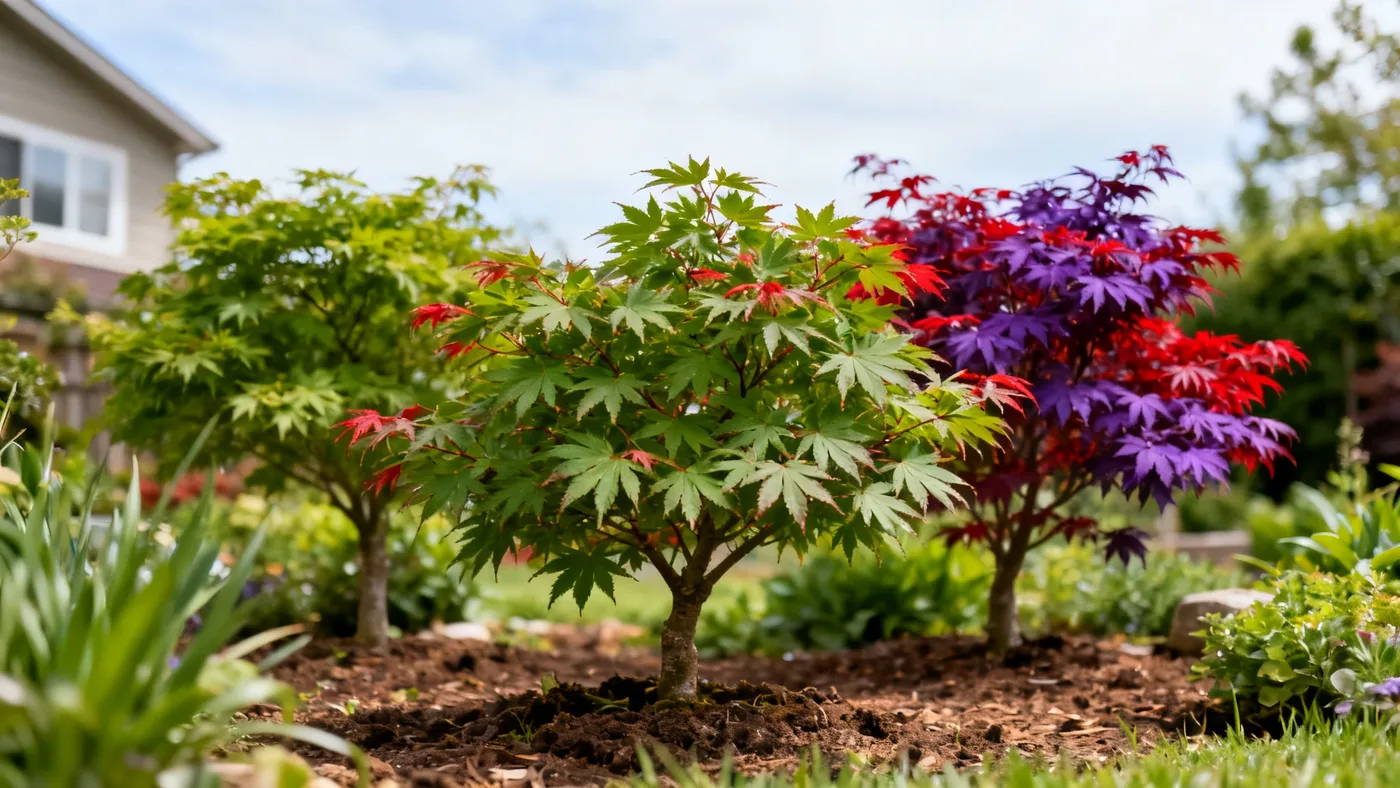
The Best Soil for a Dwarf Japanese Maple to Thrive
The foundation of a healthy dwarf Japanese maple starts below ground. Getting the soil right is the single most important step you can take before planting. This guide walks you through preparing the best soil for dwarf Japanese maple, testing your existing soil, and making the amendments that will help your tree establish and flourish for decades.
Why Soil Matters for Dwarf Japanese Maple
Dwarf Japanese maples are sensitive to soil conditions, especially drainage. Poor drainage is one of the most common reasons these trees fail, leading to root rot and dieback before the tree ever has a chance to show its brilliant fall color. At the same time, the soil needs to hold moisture consistently. It's a balance: rich, fluffy, well-draining loam that never stays waterlogged and never dries out completely.
The tree's slow growth rate of 6 to 12 inches per year means you need to get the soil right from the start. Correcting poor soil after planting is far harder than preparing it before.
The Ideal Soil Profile for Dwarf Japanese Maple
The best soil for dwarf Japanese maple is a rich, well-draining loam with a slightly acidic to neutral pH between 5.5 and 6.5. In practical terms, this means:
- Loamy texture that crumbles in your hand, not a clay blob or pure sand
- Visible organic matter (aged bark, compost, or forest floor material)
- Ability to drain water within 4 to 8 hours, not minutes or days
- Slightly acidic chemistry that won't require constant pH adjustment
If you're buying nursery-grown plants in quart, #1, or #3 containers, don't assume that soil is suitable for your garden. You'll still need to amend your planting hole to create the right environment once the tree goes in the ground.
Test Your Soil Before You Plant
Before you dig, know what you're working with. Pick up an inexpensive soil pH kit from any garden center. Follow the instructions: mix a soil sample with the test solution and compare the color to the chart. You're looking for a reading between 5.5 and 6.5, which is the ideal dwarf Japanese maple soil pH range.
For drainage, dig a hole about 6 inches deep and wide in your planting area. Fill it with water and let it drain completely. Refill it and time how long it takes to drain. Complete drainage in 4 to 8 hours is ideal. Water that disappears in under an hour suggests fast, sandy drainage. Water that lingers for a day points to heavy clay that will need amendment.
Materials You'll Need for Soil Amendment
Gather these items before you start digging. The exact amounts depend on how much soil you're preparing, but here's a practical checklist:
- Native topsoil or garden soil from your yard
- Aged compost or well-rotted bark (at least 30% to 40% of your mix)
- Coarse sand or perlite (if your soil is heavy clay)
- Sulfur powder (only if your pH test showed above 7.0)
- Balanced, slow-release fertilizer formulated for acid-loving woody ornamentals
- Soil pH test kit
- Garden fork or spading fork
- Measuring bucket or shovel for proportions
Step-by-Step Soil Preparation Guide
Follow these steps to prepare soil that will support healthy growth for your dwarf Japanese maple.
Step 1: Dig Your Planting Hole
Dig a hole that is twice as wide as the root ball and just as deep. A tree coming in a #1 container needs a hole roughly 18 to 24 inches across and 12 inches deep. Don't dig deeper than the root ball height; planting too deep invites root problems and poor establishment.
Step 2: Remove and Assess Your Native Soil
Set the excavated soil aside. Look at it and feel it. Is it heavy clay, light sand, or something in between? Clay soil feels sticky when wet and hard when dry. Sandy soil falls apart in your hand. Loam crumbles nicely and smells earthy. If your native soil is good loam, you can use much of it. If it's poor, you'll replace most of it with your amendment mix.
Step 3: Build Your Amendment Mix for Japanese Maple Soil Drainage
Create a new soil mix using these proportions:
- 40% native topsoil or good garden soil from your yard
- 35% aged compost or well-rotted bark
- 25% coarse sand, perlite, or additional aged compost
Mix these together in a pile or wheelbarrow. If your native soil was clay-heavy, increase the sand or perlite to 35% and reduce the topsoil to 30%. If it was already quite sandy, reduce the sand component and add more compost for structure and moisture retention.
Step 4: Adjust pH if Needed
If your soil pH test showed a reading above 7.0, work sulfur powder into your amendment mix. Use about 1 to 2 tablespoons of sulfur per gallon of mixed soil. This is a gentle adjustment; sulfur works slowly over months. If your pH was already between 5.5 and 6.5, skip this step. Adding sulfur to already-acidic soil risks over-correction.
Step 5: Loosen the Hole Bottom
Before adding your amendment mix, use a garden fork to break up the soil at the bottom of the planting hole. Loosen it to about 6 inches below the bottom of your hole. This prevents a hard pan layer that would trap water and roots. This step is critical for japanese maple soil drainage, which can make or break the tree's long-term survival.
Step 6: Fill and Backfill
Fill the bottom of the hole with 4 to 6 inches of your prepared soil mix. Set your tree's root ball on top so that the soil line of the container matches the surrounding ground level. Never bury the base of the trunk; this causes girdling and disease.
Backfill around the root ball with your amendment mix, pressing gently to eliminate air pockets. Don't stomp or compact; gentle pressure is enough. The soil should be firm enough to hold the tree upright, not rock-solid.
Step 7: Water Thoroughly
Water deeply after planting until the soil settles and water reaches the bottom of the root ball. This settles the soil, eliminates remaining air pockets, and helps roots make contact with the amendment mix. The soil will settle further over the next few weeks; you may need to add a bit more soil to maintain a level surface.
Amending Soil for Japanese Maple in Existing Gardens
If you're adding a dwarf Japanese maple to an established garden, you can't change the entire garden's soil. Instead, amend a localized area around the planting zone. Dig your hole wider than you would in bare ground, typically 3 to 4 feet across. This gives the tree's roots room to encounter improved soil before hitting native soil, allowing a gradual transition rather than a harsh boundary.
Use the same proportions for amending soil for Japanese maple: 40% native soil, 35% compost, 25% drainage material. Mix and amend as described above. The wider planting area compensates for the fact that you're not amending the entire landscape.
Container Soil Mix for Dwarf Japanese Maple
Dwarf Japanese maple is well-suited to container culture. Container soil needs to be even more careful than in-ground soil because drainage depends entirely on the soil mix and pot construction.
For containers, use this mix:
- 40% high-quality potting soil (not garden soil, which compacts in pots)
- 30% aged compost
- 20% perlite
- 10% coarse bark chips
This blend drains quickly but retains moisture, which is critical for a tree that shouldn't dry out. Water containers more frequently than in-ground trees, especially during hot summers. In colder zones, protect containerized trees' root systems during winter by moving the pot into an unheated garage or wrapping it with burlap to prevent root damage from freeze-thaw cycles.
Common Soil Mistakes to Avoid
Don't use clay-heavy soil without amendment. Heavy clay causes waterlogging, root rot, and dieback. If your native soil is mostly clay, build up your amendment percentage to 50% sand or perlite and 40% compost. Yes, this is a lot of amendment, but it's cheaper than losing the tree.
Don't rely on peat moss alone. Peat is acidic and useful for pH adjustment, but it compacts over time and can become hydrophobic (water-repellent). Use it as part of a mix, not as your primary amendment.
Don't plant too deep. Burying the root collar (where the roots meet the trunk) invites disease and girdling. The soil line should match the container height, not higher.
Don't amend pockets surrounded by poor soil. If you prepare one beautiful planting hole and surround it with compacted, droughty native soil, the tree will struggle at the boundary. Widen your amendment zone to 3 to 4 feet across.
Don't forget the bottom. Loosening native soil at the base of your hole prevents water trapping. This is where japanese maple soil drainage either succeeds or fails.
What to Expect After Planting
After you've planted your dwarf Japanese maple in prepared soil, growth should be steady. With consistent moisture and good drainage, dwarf Japanese maple cultivars typically add 6 to 12 inches of height per year. Fall color should develop reliably once the tree is established, suggesting your soil preparation work is paying off.
In the first year, your main job is keeping the soil consistently moist, not wet. Water deeply once or twice a week during dry spells. By year two, the tree's roots should be well-established and more drought-tolerant, though supplemental watering during extended dry periods still helps.
For ongoing care and maintenance, see our complete dwarf Japanese maple care guide for seasonal management and pruning. Understanding mature size also helps with placement: read about how big dwarf Japanese maples really get to plan spacing and ensure your tree has room to develop its natural form.
Quick Reference: Soil Preparation Checklist
| Task | Target or Details |
|---|---|
| Soil pH | 5.5 to 6.5 (slightly acidic to neutral) |
| Soil texture | Rich, well-draining loam that crumbles in hand |
| Drainage test | Water drains completely in 4 to 8 hours |
| Planting hole width | Twice as wide as root ball |
| Planting hole depth | Same depth as root ball, not deeper |
| Amendment ratio | 40% native soil, 35% compost, 25% sand/perlite |
| Loosen hole bottom | Break up native soil to 6 inches below hole bottom |
| Planting depth | Root collar at ground level, never buried |
| Initial watering | Deep soak after backfilling to settle soil |
| First-year moisture | Keep consistently moist, not waterlogged |
| Container soil mix | 40% potting soil, 30% compost, 20% perlite, 10% bark |