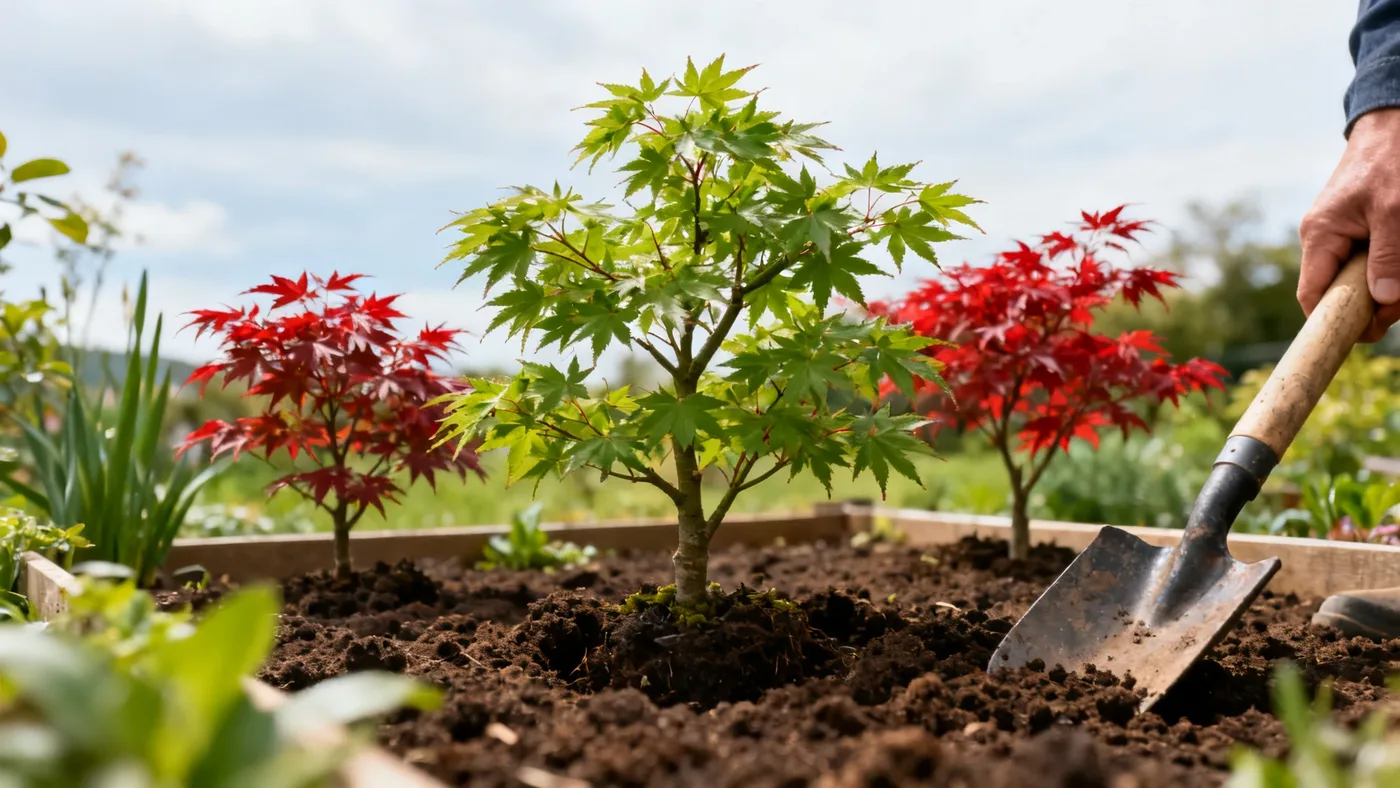
How to Plant a Dwarf Japanese Maple the Right Way
Getting your Dwarf Japanese Maple off to the right start is the difference between a thriving specimen and years of struggle. Unlike many ornamentals, this slow-growing plant rewards careful planting more than almost any other step you can take. The good news is that planting one correctly is straightforward, predictable work that takes just a couple of hours.
When to Plant Japanese Maple: Timing Is Critical
The best time to plant a Dwarf Japanese Maple is early spring or early fall. Both seasons give the plant time to settle before the stress of summer heat or winter freeze arrives. Early spring means the soil is warming but temperatures are still moderate. Early fall works similarly in reverse, with cooler weather and often more reliable moisture from rain.
Avoid planting in summer heat, which stresses newly installed plants that haven't had time to establish roots. Winter dormancy is also risky, as the plant can't recover from transplant shock before the cold deepens. If you're in USDA zones 5-8, you have good flexibility with both spring and fall. Some cultivars can tolerate zone 9 with afternoon shade, so check your local extension service if you're at the edge of the range.
Materials and Tools You'll Need
Before you dig, gather these essentials:
- A shovel or spade for digging the planting hole
- Rich, well-draining loam soil or potting mix to amend the native soil
- A soil pH test kit or extension service test (target: 5.5 to 6.5)
- Mulch, such as wood chips or bark (2-3 inches depth)
- A watering can or hose with a gentle spray
- Balanced, slow-release fertilizer formulated for acid-loving ornamentals (wait until next spring to apply)
- Pruning shears for any broken branches on the nursery plant
- Measurement tape if planting multiple specimens
Step-by-Step Instructions for Planting Dwarf Japanese Maple
Step 1: Assess Your Site and Check Drainage
Start by looking at the planting location. Dwarf Japanese Maples need part sun to part shade. Morning sun with afternoon shade is ideal, especially in hot climates. In cooler zones or coastal areas, they tolerate more sun. The real key is drainage: this plant is sensitive to poor drainage, and waterlogged roots can rot within weeks.
Check drainage by digging a hole about 12 inches deep and filling it with water. If water is still sitting after 24 hours, that spot won't work. If it drains within a few hours, you're good. If the entire area has drainage issues, consider a raised bed or container planting instead.
Step 2: Dig the Planting Hole
Dig a hole that is roughly twice the width of the root ball but no deeper than the root ball itself. This is critical: planting too deep suffocates roots and invites rot. If you're working with a nursery plant in a quart, #1, or #3 container (the most common sizes), use those dimensions as your guide.
The hole should be wide, not deep. Break up the sides of the hole with your shovel so roots aren't confined to hard-packed earth. Loosen the bottom 2-3 inches so roots can push down easily.
Step 3: Amend the Soil
Dwarf Japanese Maples thrive in rich, well-draining loam. If your native soil is heavy clay or sandy, mixing in compost or potting mix makes a real difference. Aim for about 30-50 percent amendment by volume in the planting hole.
Check your soil pH if possible. The target is 5.5 to 6.5 (slightly acidic to neutral). If you're significantly above that range, work in sulfur or an acid-adjusting amendment. If you're below, lime can help, but Dwarf Japanese Maples are fairly forgiving over a moderate pH range.
Step 4: Remove the Plant from Its Container
Gently tip the nursery container to one side and slide the plant out, supporting the base of the stem with your other hand. If it's pot-bound (roots circling tightly), gently tease them apart with your fingers or a small knife. Cut any circling roots that won't loosen; they can strangle the plant over time. Don't shred the entire root ball, just free up the outer 1-2 inches of roots so they can spread into fresh soil.
Step 5: Position the Plant at the Correct Depth
Place the Dwarf Japanese Maple in the hole so the top of the root ball is level with the ground surface, or just slightly higher. Never bury the trunk or the base of the stems. The soil line on the stem in the nursery container is your visual reference; match that level in the ground. This is the most common mistake, and it's also one of the most damaging.
Step 6: Backfill and Water Thoroughly
Fill the hole with your soil and amendment mix, firming gently as you go. Don't tamp hard; you want the soil to be in contact with the roots but not compacted. Water thoroughly after filling to settle the soil and eliminate air pockets. The water also helps the plant begin to establish roots immediately.
Continue watering until water runs clear, indicating the entire root zone is moist.
Step 7: Add Mulch
Spread mulch 2-3 inches deep around the base of the plant, keeping it 2-3 inches away from the stem. Wood chips, pine bark, or composted leaf matter all work well. Mulch keeps the soil cooler, retains moisture, and moderates temperature swings, which Dwarf Japanese Maples appreciate.
Step 8: Stake Only If Necessary
Most container-grown Dwarf Japanese Maples are sturdy enough not to need staking. If the plant is tall and spindly or in a windy location, a loose tie to a stake for the first season can help. Don't strap it tight; allow some movement, which strengthens the stem over time.
Spacing for Multiple Plants
If you're planting a group, space them 3-6 feet apart depending on the cultivar's mature width. Bloodgood, Crimson Queen, Tamukeyama, and Shaina have slightly different forms and spreads; check the plant tag or ask at the nursery. Weeping cultivars often reach 4-6 feet wide, while upright dwarfs can approach 8-10 feet at maturity. Planting too close crowds the roots and limits air circulation, inviting disease.
Common Planting Mistakes to Avoid
Planting too deep. This is the number-one killer. Bury the root collar and you'll see decline within one to two growing seasons. Keep the soil line exactly where it was in the container.
Over-amending the soil. Too much compost or peat can make the immediate planting area too rich and retain too much water. A 30-50 percent amendment is plenty. The plant's slow growth rate doesn't demand super-rich soil.
Choosing the wrong spot. Full afternoon sun in hot climates will scorch the leaves, especially on red cultivars like Bloodgood or Crimson Queen. Morning sun with shade protection is the sweet spot. In cooler zones, more sun is tolerated.
Poor drainage. If water pools around the base or doesn't drain within a few hours, that site won't work. Move the planting location or use a raised bed.
Fertilizing immediately. Newly planted Dwarf Japanese Maples don't need heavy feeding. Wait until the following spring to apply a balanced, slow-release fertilizer formulated for acid-loving ornamentals. Fresh transplants focus on root establishment, not shoot growth.
After Planting: First Season Care
Water consistently for the first two to three weeks after planting. The plant needs moderate, consistent moisture; do not let it dry out. After that initial period, water when the top inch of soil feels dry. Newly planted specimens are vulnerable to drought stress, more so than established plants.
Once to twice per week is typical watering during the growing season if there's no rain. Reduce frequency in fall as growth slows.
Prune only dead wood or crossing branches in the first year. Your goal is to let the plant settle and build roots, not reshape it. Any pruning you do should happen in late fall to mid-winter when the plant is dormant, to reduce sap bleed and disease entry points.
What to Expect Over Time
Dwarf Japanese Maples grow slowly, roughly 6-12 inches per year. Don't expect a landscape-sized specimen for several years. This patience is actually an asset: they fit well in smaller spaces and mature gracefully. Many specimens live 50 or more years with good siting, and some exceed 100 years.
Your first fall will show you why these plants are prized. Foliage color depends on the cultivar but often features brilliant reds, oranges, or golds. The color show will improve slightly each year as the plant matures and gains more leaf mass.
Learn more about keeping your Dwarf Japanese Maple thriving year-round in our comprehensive care guide.
Quick Reference Checklist
| Task or Detail | Specification |
|---|---|
| Best planting season | Early spring or early fall |
| Avoid planting during | Summer heat or winter freeze |
| USDA hardiness zones | 5-8 (some cultivars to zone 9 with afternoon shade) |
| Sun exposure | Part sun to part shade; morning sun with afternoon shade in hot climates |
| Soil type | Rich, well-draining loam |
| Soil pH | 5.5 to 6.5 (slightly acidic to neutral) |
| Hole width | Twice the root ball width |
| Hole depth | Level with (not deeper than) the root ball |
| Soil amendment | 30-50% compost or potting mix by volume |
| Spacing between plants | 3-6 feet apart (depends on cultivar mature width) |
| Mulch depth | 2-3 inches, kept 2-3 inches away from the stem |
| Initial watering | Consistent moisture; 1-2x weekly if no rain, first 2-3 weeks critical |
| When to fertilize | Wait until the following spring after planting |
| First-year pruning | Minimal; remove only dead wood or crossing branches |
| Expected growth rate | 6-12 inches per year (slow-growing) |
| Mature height | 4-8 feet (varies by cultivar) |
| Mature width | 4-8 feet (varies by cultivar) |